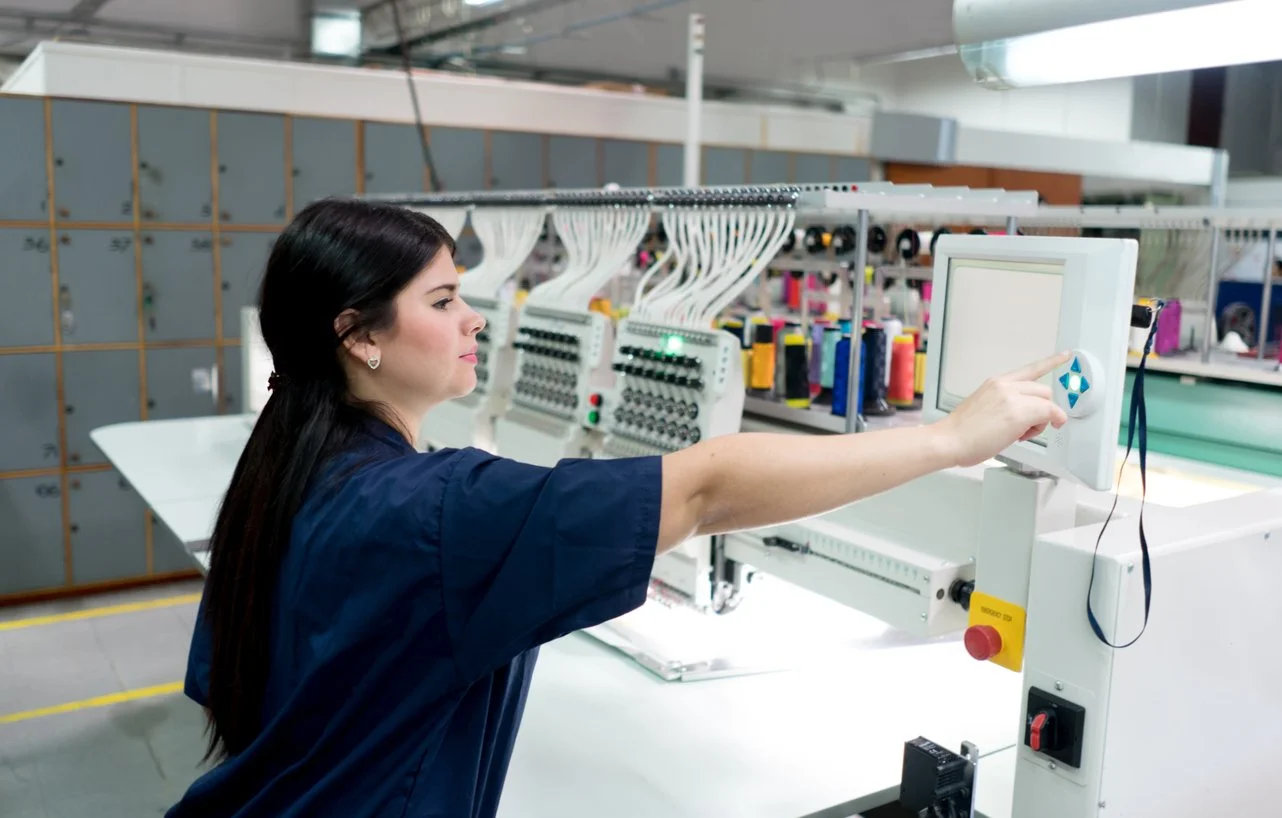
You found the perfect graphic—a vintage logo, a clever bit of text art, a simple icon. You envision it stitched out crisply on a hat or bag using your Bernina or Melco machine. The plan seems straightforward: take the JPG and convert JPG to EXP for embroidery. You find an online converter, hit the button, load the file, and… the results are a disaster. The stitches are a tangled mess, the design is pixilated, or your machine rejects it outright.
This frustrating scenario plays out daily for embroiderers. The process of turning a raster image (like a JPG) into a functional EXP embroidery file is not a simple format swap; it’s a technical translation called digitizing. Skipping the crucial steps in this translation leads to common, avoidable mistakes. This guide will walk you through the five biggest pitfalls and show you how to navigate the conversion process correctly for professional-looking results every time.
Mistake #1: Assuming It’s Just a “File Conversion”
This is the foundational error. Thinking you can simply change a .jpg file extension to .exp or use a basic converter that only changes the file type is a recipe for failure.
Why It’s Wrong:
A JPG is a raster image, a grid of colored pixels. An EXP file is a vector-based set of embroidery instructions, telling the machine coordinates, stitch types, jump sequences, and color changes. They are fundamentally different languages. A proper conversion requires digitizing—interpreting and redrawing the image as stitch paths.
The Correct Approach:
Frame the task as “digitizing a JPG into an EXP file,” not just converting it. This mindset shift prepares you for the necessary steps of cleaning, tracing, and assigning stitch properties, which is what creates a clean, sewable design.
Mistake #2: Starting with a Low-Quality or Complex JPG
“Garbage in, garbage out” is the absolute rule in embroidery digitizing. Using a small, blurry, or overly detailed JPG guarantees a poor EXP file.
Common Poor Source Choices:
-
Tiny web graphics (e.g., 200×200 pixels).
-
Blown-up, pixelated images.
-
Photos with gradients, shadows, and millions of colors.
-
Cluttered images with no clear focal point.
The Correct Approach: Source the Best Possible Image.
-
Size & Resolution: Start with the largest, highest-resolution JPG you can find. Aim for an image that is already at least as large as you want the embroidery to be (e.g., 2000 pixels wide for a 5-inch design).
-
Simplicity is Key: The best JPGs for conversion have bold shapes, high contrast, and minimal colors. Think logos, clip art, or bold typography. A simple black-and-white silhouette is the perfect beginner project.
-
Pre-Edit in an Image Editor: Before it touches digitizing software, open your JPG in a free tool like GIMP, Photoshop, or even Canva.
-
Increase Contrast dramatically to make edges pop.
-
Remove Backgrounds if possible.
-
Use Posterize or Threshold filters to reduce the number of colors to just 2 or 3. This creates a clear map for your stitches.
-
Mistake #3: Relying Solely on Full Auto-Digitize Functions
Most software, even professional programs, has an “Auto-Digitize” button. While tempting, using this as your only step creates chaotic, inefficient, and unprofessional EXP files.
The Problems Auto-Digitize Creates:
-
Excessive Stitch Count: It may fill every tiny area with dense stitches, leading to stiff fabric and long run times.
-
Poor Stitch Direction: Auto-generated fill stitches often have a uniform, robotic direction that lacks strength and visual appeal.
-
Illogical Sequencing: The machine head may jump erratically around the design instead of following a clean, efficient path.
-
Ignored Fabric Pull: It doesn’t account for how different stitch angles interact with fabric grain, potentially causing distortion.
The Correct Approach: Use Auto-Trace as a Starting Sketch, Not the Final Art.
-
Use the auto-trace function to create a quick vector outline of your pre-edited JPG. This gives you clean shapes to work with.
-
Then, manually assign stitch types. Use Satin Stitches for borders and text, and carefully angled Fill Stitches for larger areas.
-
Manually set the stitch sequence (the order the elements sew out) to be logical and minimize jumps.
-
Add manual underlay stitches—like a center run or edge walk—to stabilize the fabric before the main stitches go down. This is a hallmark of a professionally digitized file and is often skipped by auto functions.
Mistake #4: Ignoring the Specifics of the EXP Format
EXP isn’t just a generic embroidery format; it has its own nuances, especially regarding compatibility.
The Oversight:
Treating all EXP files as the same and not verifying the version for your specific machine. A file saved as an EXP for a Melco industrial machine might not be optimized for a Bernina 8 Series, which may require a specific ART/EXP variant.
The Correct Approach: Know Your Machine and Software Settings.
-
Confirm Your Machine’s Exact Format: Check your Bernina or Melco manual. Does it use
.exp,.art, or a specific variant like.art80? Your target format depends on this. -
Configure Software Settings for EXP: When saving your digitized design, choose the EXP format and look for advanced options:
-
Stitch Format: Ensure it’s set for your machine model.
-
Max Stitch Length: Some machines have limits (often 12.1mm). Ensure your software doesn’t generate longer stitches, which can cause breaks.
-
Trims and Color Codes: Set trim commands appropriately and use color codes that make sense on your machine’s display.
-
Mistake #5: Skipping the Test Stitch on Scrap Fabric
The most critical mistake is assuming a design that looks good on screen will sew out perfectly. Skipping the test stitch is like baking a cake for a wedding without tasting the batter.
The Risky Assumption:
You load your new EXP file directly onto your prized garment and hit start, only to discover a puckering mess, thread breaks, or a design that looks nothing like your JPG halfway through.
The Non-Negotiable Correct Approach: Always Stitch It Out First.
-
Hoop the exact same stabilizer and fabric type you plan to use for the final project.
-
Stitch the complete design on this scrap. Watch and listen.
-
Analyze the Physical Result:
-
Puckering? The stitch density is too high for the fabric. Reduce the fill density in your software.
-
Gaps or Poor Coverage? Increase the density or add underlay.
-
Distorted Shapes? You need more stabilization or compensation for fabric pull in the digitizing software.
-
Thread Breaks? Check for overly long stitches or sharp corners that need rounding.
-
-
Use this real-world feedback to go back into your digitizing software and refine the EXP file. This iterative process is what separates amateurs from professionals.
Conclusion: From Frustration to Flawless Stitch-Outs
Successfully learning to convert JPG to EXP for embroidery is about embracing the process as a craft, not just a click. It’s a skill built on avoiding these common shortcuts and misunderstandings. By starting with a clean, simple image, using auto-tools as a draft rather than a final product, respecting the specifics of the EXP format, and never, ever skipping the test stitch, you take control of the outcome.
Each mistake you avoid builds your confidence and expertise. Your EXP files will become more than just compatible—they will be efficient, stable, and produce crisp, professional embroidery that does justice to your original vision. So, grab a high-contrast JPG, open your digitizing software with patience, and remember: the path to a perfect stitch-out is paved with careful preparation and testing.
Discover Modern Comfort: A Guide to Apartment Rent in Beirut
Beirut, the lively capital of Lebanon, is a city that blends deep-rooted history with a mo…


Discover Modern Comfort: A Guide to Apartment Rent in Beirut
Beirut, the lively capital of Lebanon, is a city that blends deep-rooted history with …